
Walking dots technique
What are walking dots?
Walking dots are a decorative dotting technique used in acrylic painting, mandala art, dot painting, nail art, and other creative crafts. The effect is created by dipping a dotting tool into paint once and making a series of consecutive dots without reloading the tool. As the paint is gradually used up, each new dot becomes slightly smaller than the previous one, creating a smooth, flowing transition.
This simple yet effective technique adds movement, depth, and elegance to painted designs. Walking dots are commonly used to form petals, borders, swirls, feathers, mandalas, and other intricate patterns where a gradual change in dot size enhances the overall composition.
Mastering the walking dots technique is an essential skill for creating professional-looking dot art. By controlling the pressure, paint consistency, and spacing between the dots, you can achieve clean, evenly graduated dot trails that bring your artwork to life.
How to paint walking dots
Learn how to paint walking dots in this step-by-step tutorial.
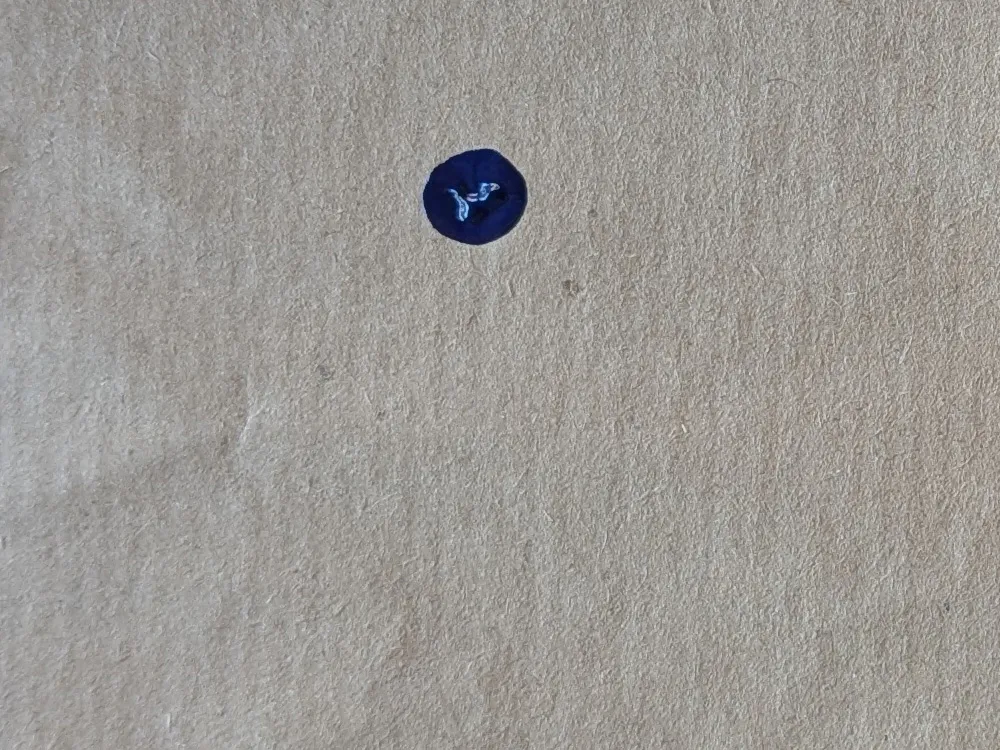
First dot
Start by dipping your dotting tool into the paint and applying the first dot to your surface. This initial dot should be the largest, as it will set the tone for the subsequent dots. Ensure that you have enough paint on the tool to create a smooth, even dot without any gaps or inconsistencies.
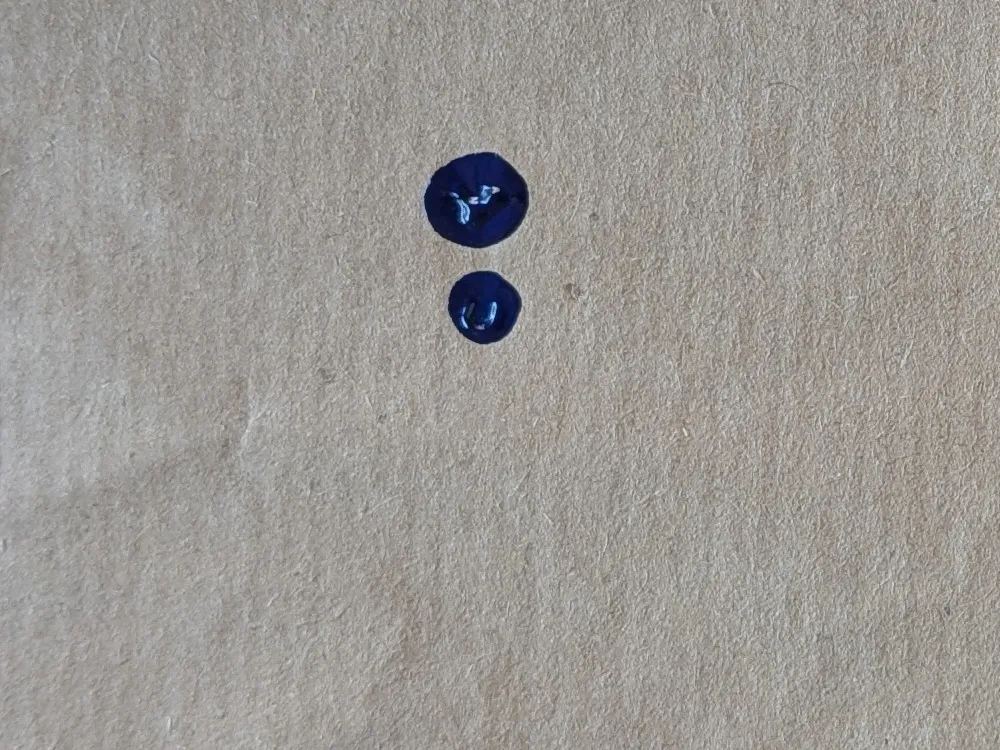
Subsequent dots
After the first dot, continue to apply additional dots in a line or pattern, gradually reducing the amount of paint on the tool with each dot. This will create a natural tapering effect, where each new dot is slightly smaller than the previous one. Maintain consistent spacing between the dots to achieve a smooth transition.
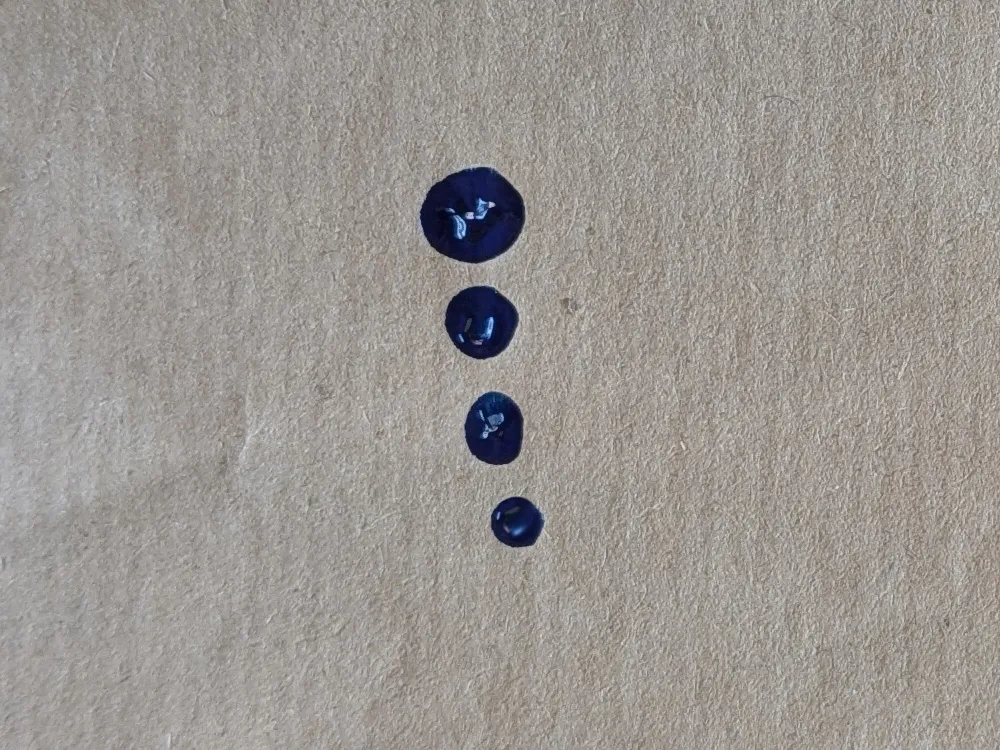
Final touches
After applying the subsequent dots, review your work and make any necessary adjustments. You can add smaller dots to fill gaps or enhance the design. This step ensures that your walking dots pattern looks polished and complete.
Key takeaways
- Walking dots are a decorative dotting technique that creates a smooth transition of dot sizes.
- The technique is achieved by applying a series of dots with gradually decreasing paint on the tool.
- Walking dots can be used to create petals, borders, swirls, feathers, mandalas, and other intricate patterns.
- Mastering this technique requires practice in controlling pressure, paint consistency, and spacing between dots.
- Do not apply new paint to your tool inbetween dots as it will disrupt the tapering effect.