
Casting dotting stones
What is stone casting?
Stone casting is a technique that involves creating custom shapes and sizes for your dotting projects using molds. This method allows you to create unique and personalized pieces for your dotting art. By using casting molds, you can pour materials such as plaster to create solid bases for your designs. Casting your own stones can add an extra dimension to your dotting projects and allows you to explore new creative possibilities.
How to cast stones
Learn how to cast stones in this step-by-step tutorial.
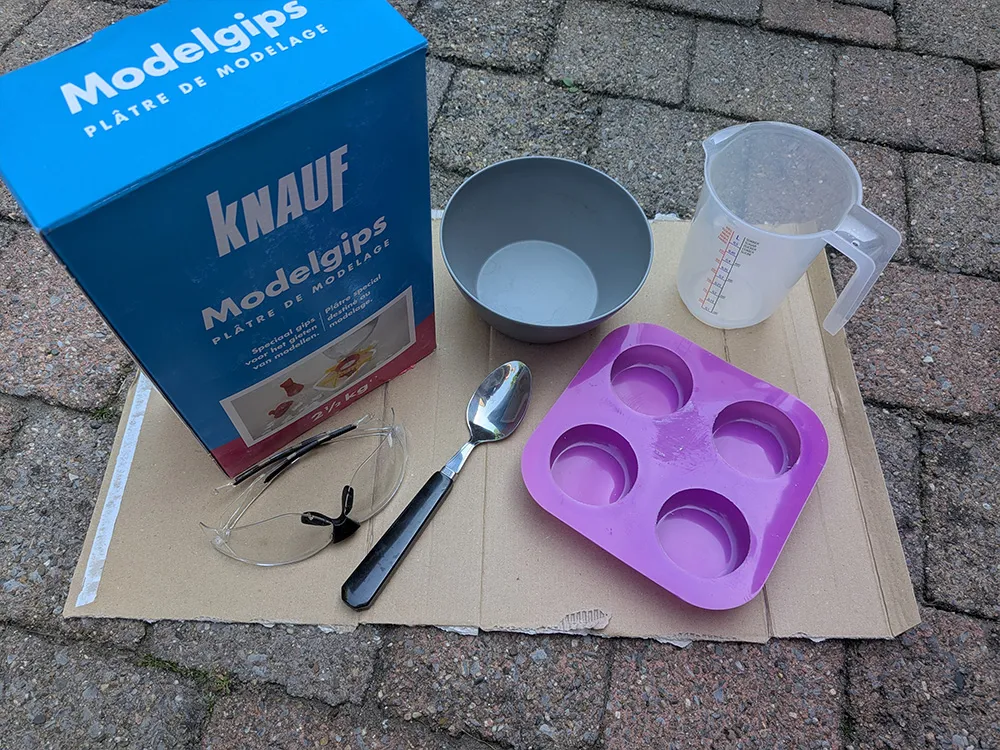
Prerequisites
- Stone casting molds
- Plaster powder
- Water
- Mixing container
- Stirring stick
- Measuring tools
- Protective gloves and goggles
- Acrylic paint (optional)
- Clear sealer (optional)
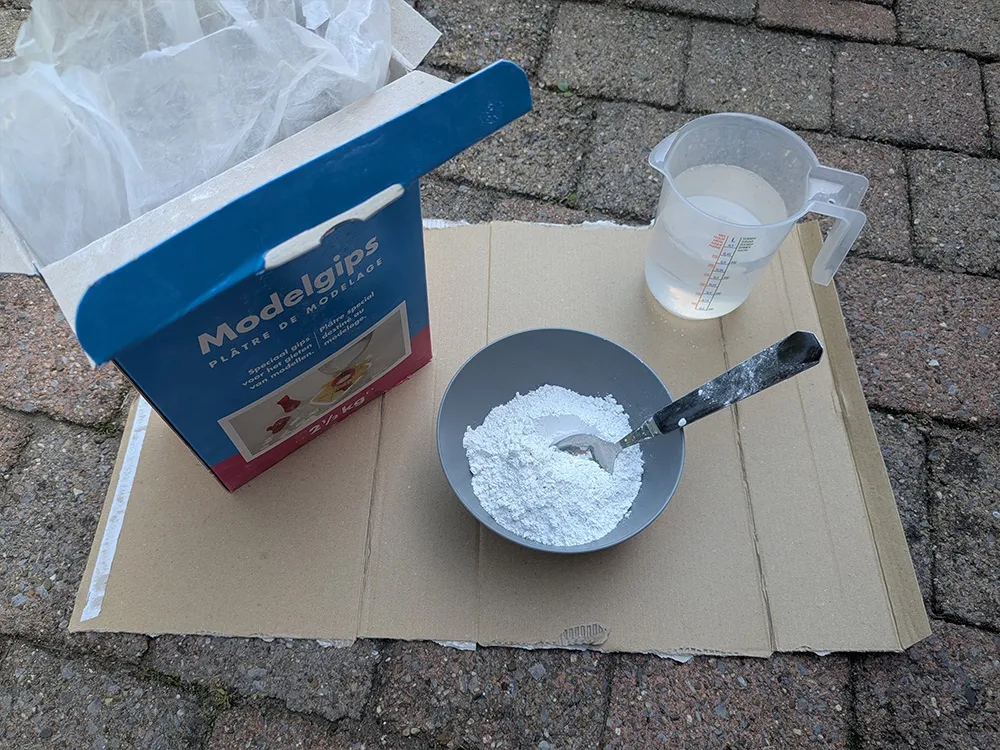
Creating the mixture
Measure plaster and water exactly like the packet says — small batches are easier to handle. Always add plaster powder to water (not the other way around) and stir slowly until smooth. Scrape the sides and bottom so no dry powder hides. Want color? Wear gloves and a mask when you handle plaster powder and strain the mix if you see lumps for a smooth pour.
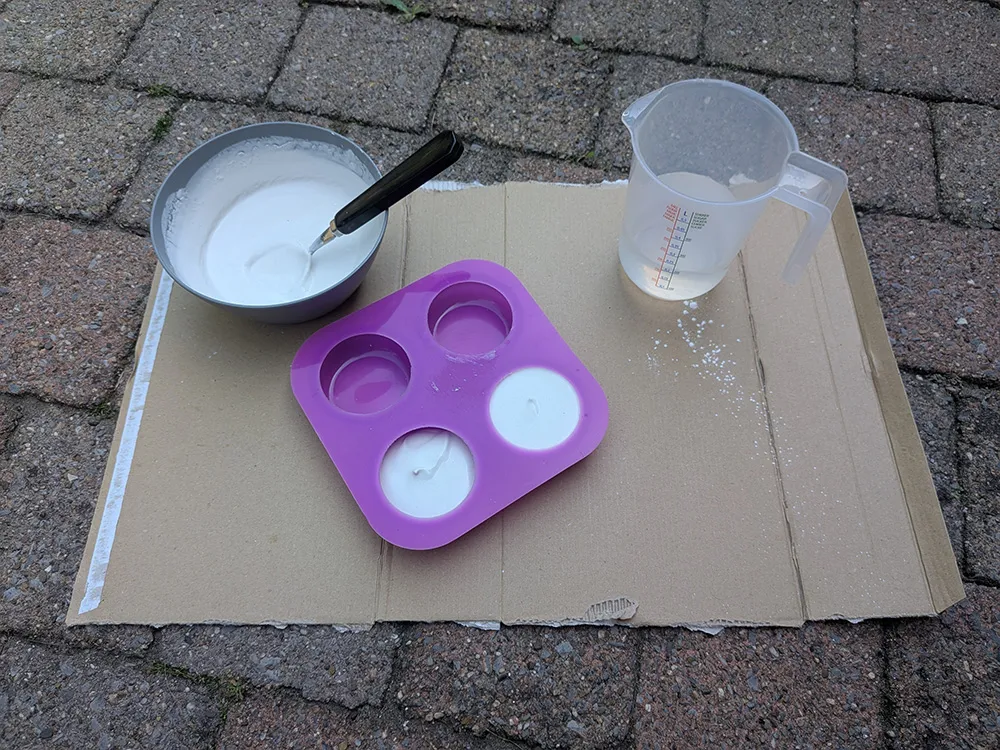
Pouring the stones
Spray or rub a little release agent into your mold and put it on a flat surface. Pour the plaster slowly from one spot so you don't trap air. Tap the mold on the table or give it a gentle shake to bring bubbles up, and pop any big ones with a toothpick. Fill to the thickness you want, then cover the mold so dust won't land on it while it sets.
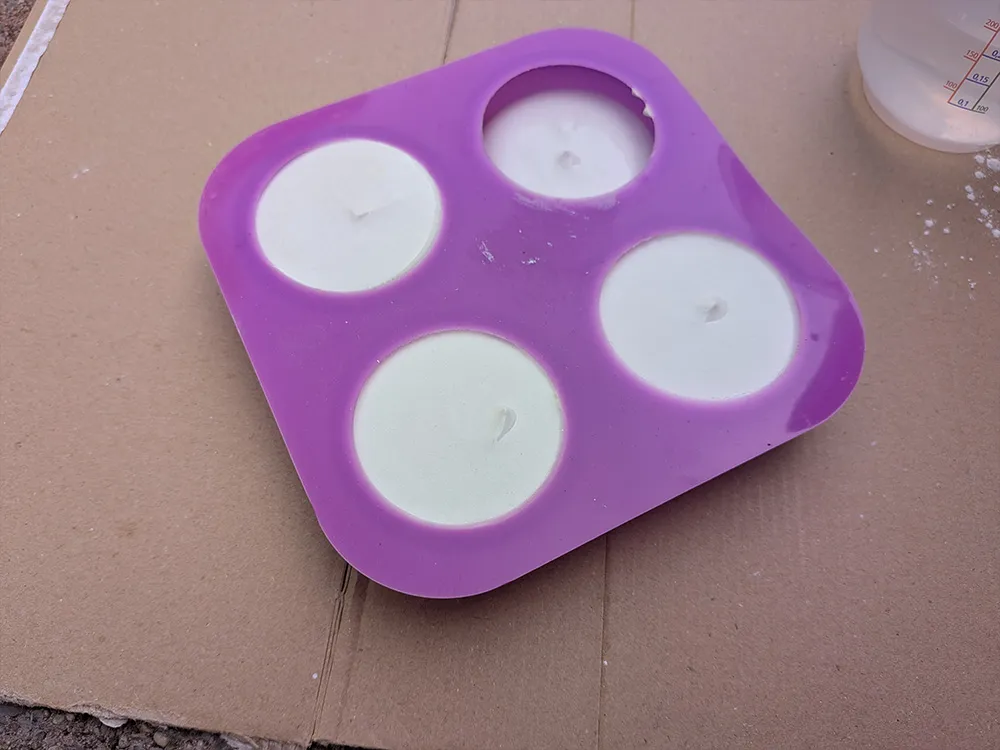
Drying the stones
Put the molds in a warm, dust-free corner and leave them alone. Plaster may feel firm in a few hours but keeps getting stronger. Wait the full cure time on the package (usually up to 24-48 hours) before you touch or demold. Don't move the molds while they're setting or the pieces can crack or deform.
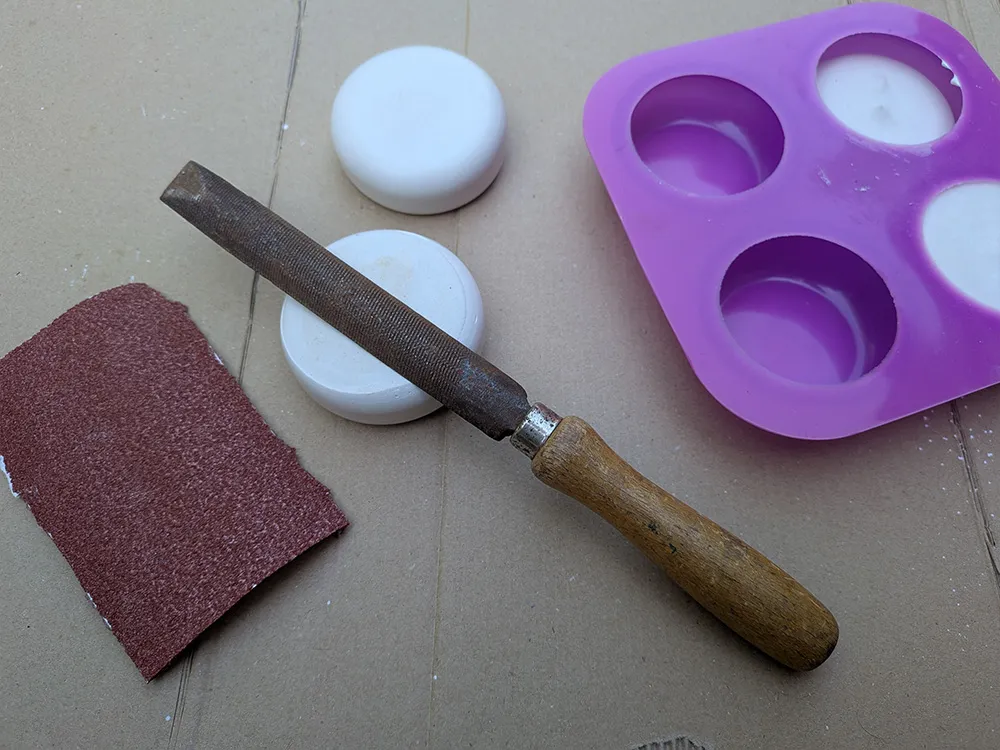
Flatting the stones
Flip the stone and sand or file the bottom so it sits flat. Start with a rough grit to level bumps, then move to finer grits for a smooth finish. For plaster, dry-sanding or filing is fine. Wipe away dust between grits. Check the stone on a flat table often so your dotting base won't wobble.
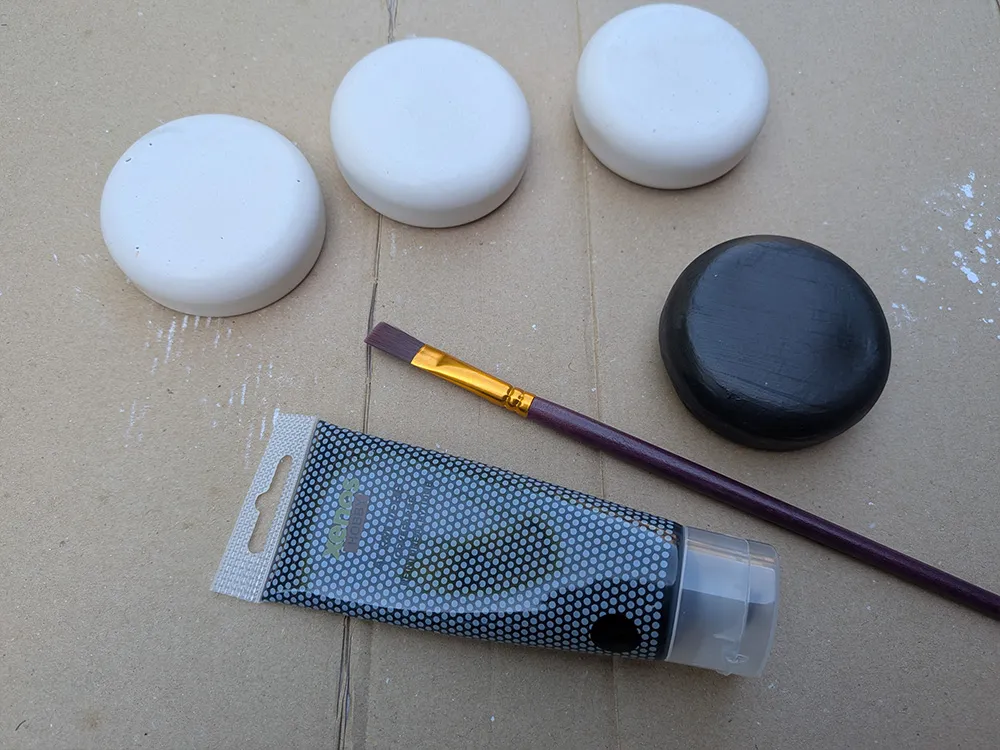
Painting the stones
Brush or spray one thin coat of primer or gesso so the paint won't soak in. Use acrylic paint in thin layers: paint one even coat, let it dry, then add 1-2 more thin coats until the color is solid. For a smooth, streak-free color, dab with a small foam brush or sponge in light, circular motions. If you see tiny bumps, very lightly sand with fine grit (400-800) between coats and wipe clean. When the color looks perfect, protect it with a clear sealer (spray or brush-on) and let the sealer cure fully before dotting.
Key takeaways
- Stone casting is a technique that allows you to create custom shapes and sizes for your dotting projects using molds.
- By using casting molds, you can pour materials such as plaster to create solid bases for your designs.
- Stones can be painted with acrylic paint and sealed with a clear sealer to protect the design.
- Always follow safety guidelines when working with plaster and other casting materials.