
How to dot paint
Let's create a dotting art piece using dotting tools and techniques. This tutorial will guide you through the process of creating a beautiful dotting design on a stone surface. Follow the steps below to achieve your first dotting masterpiece. Remember to have fun and experiment with colors and patterns to make your artwork unique!
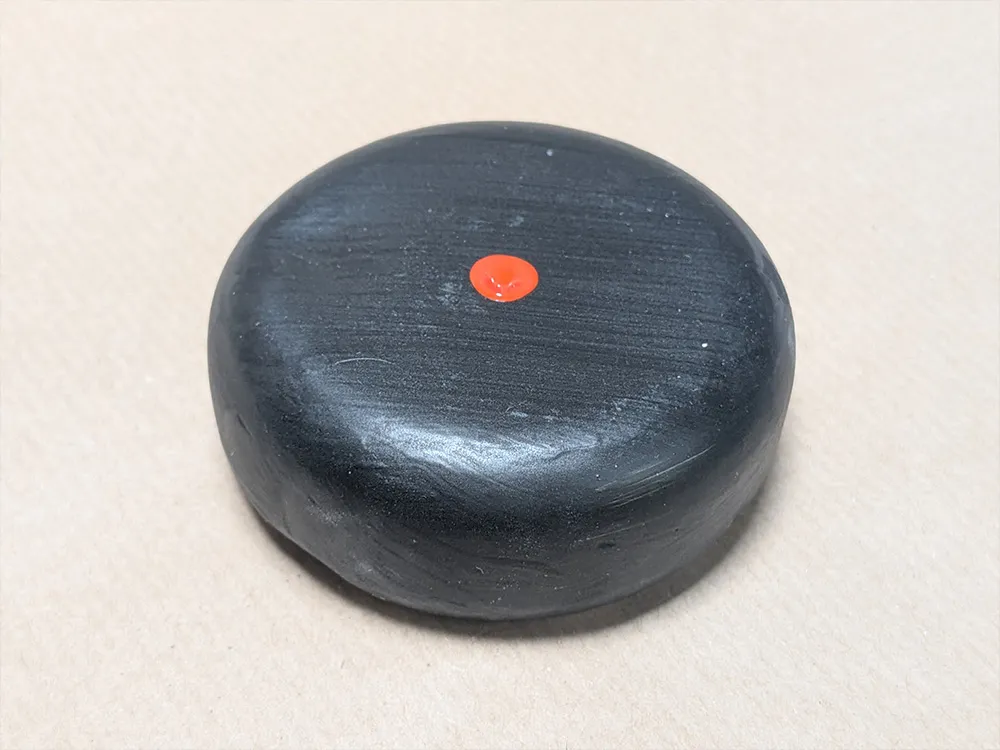
The center dot
Start by placing a dot in the center of your stone using your dotting tools. This will serve as the focal point of your design. Use a dotting tool to create a perfect circle, and make sure the paint is evenly applied. The center dot sets the stage for the rest of your dotting pattern.
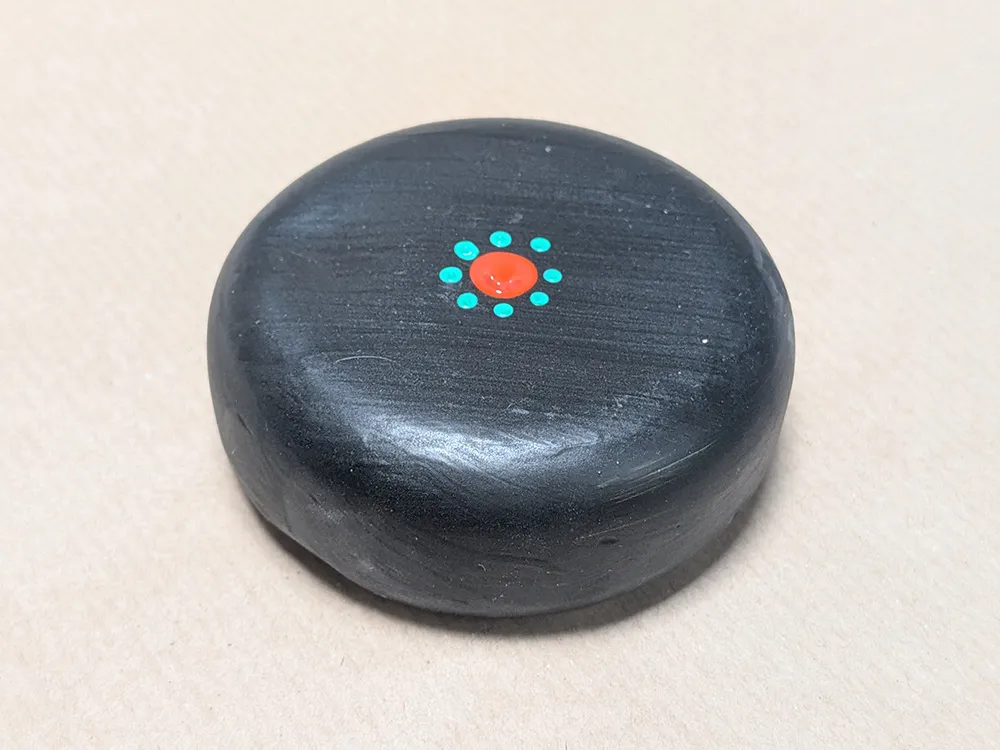
The first ring
Next, create a ring of dots around the center dot. Use a smaller dotting tool to make the dots in this ring. Space them evenly and ensure they are all the same size. This first ring will add depth and dimension to your design.
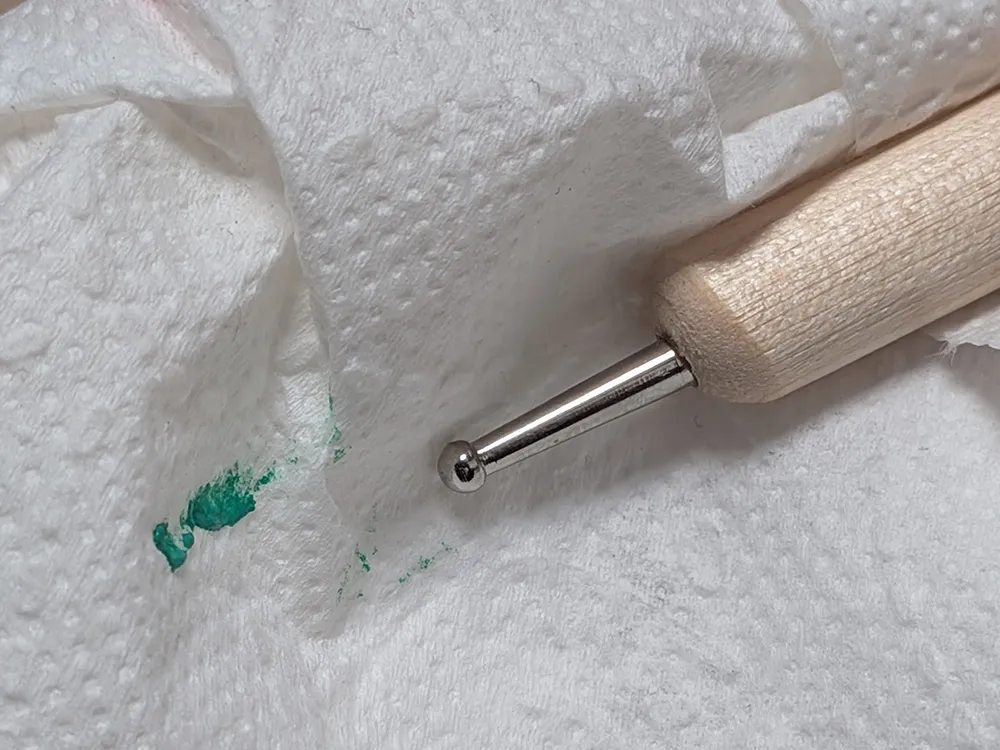
Cleaning
Make sure to clean your dotting tools between colors to avoid mixing paints. Use a damp cloth or paper towel to wipe off any excess paint. This will help maintain the clarity of your colors and prevent unwanted blending in your design.
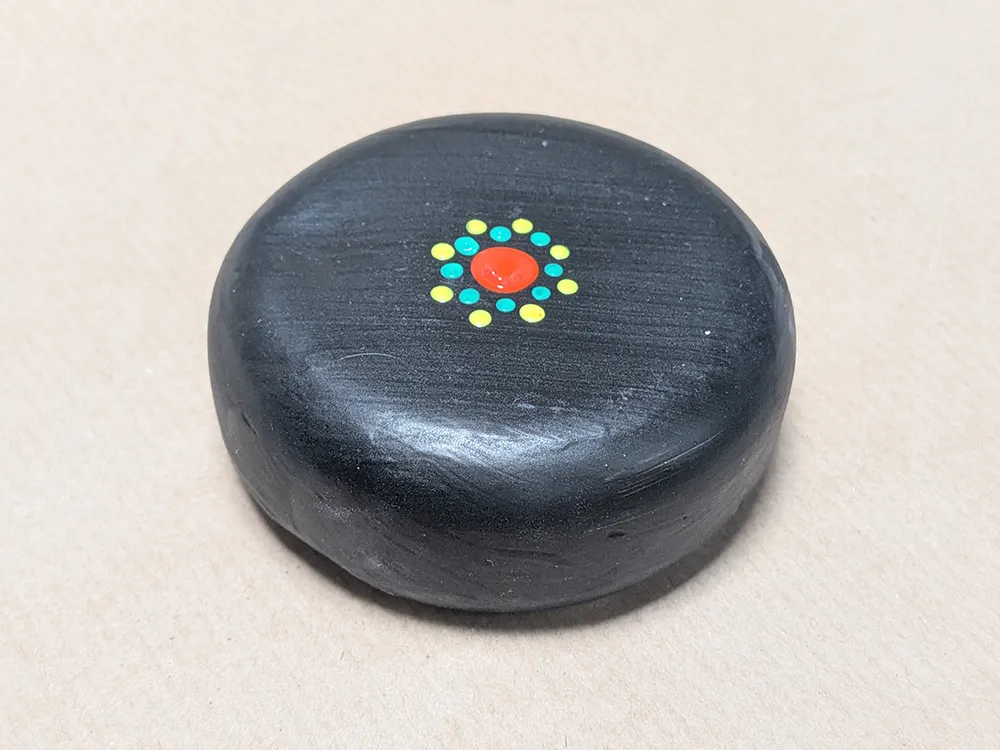
The second ring
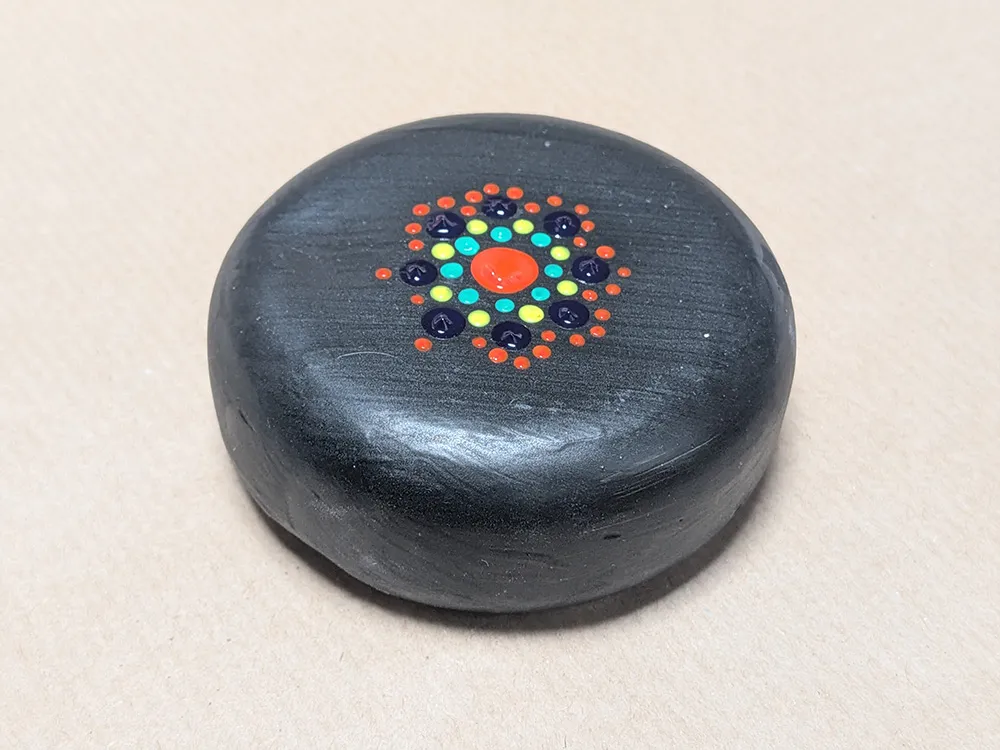
The dots of the next ring will go in the valley between the dots of the first ring. This creates a staggered effect and adds more visual interest to your design. Use a different color for this ring to make it stand out.
Subsequent rings
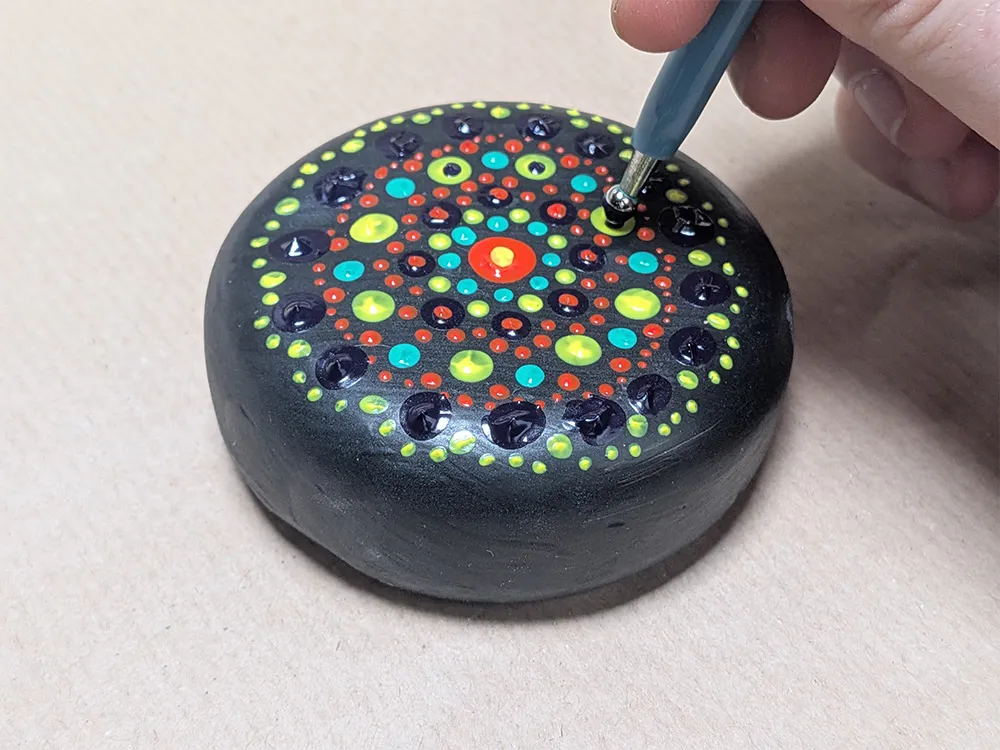
Continue adding rings of dots around the previous rings. Vary the colors, sizes and number of the dots and use different dotting techniques to create a visually appealing pattern. Make sure each ring is evenly spaced and aligned with the previous rings.
Inner dots
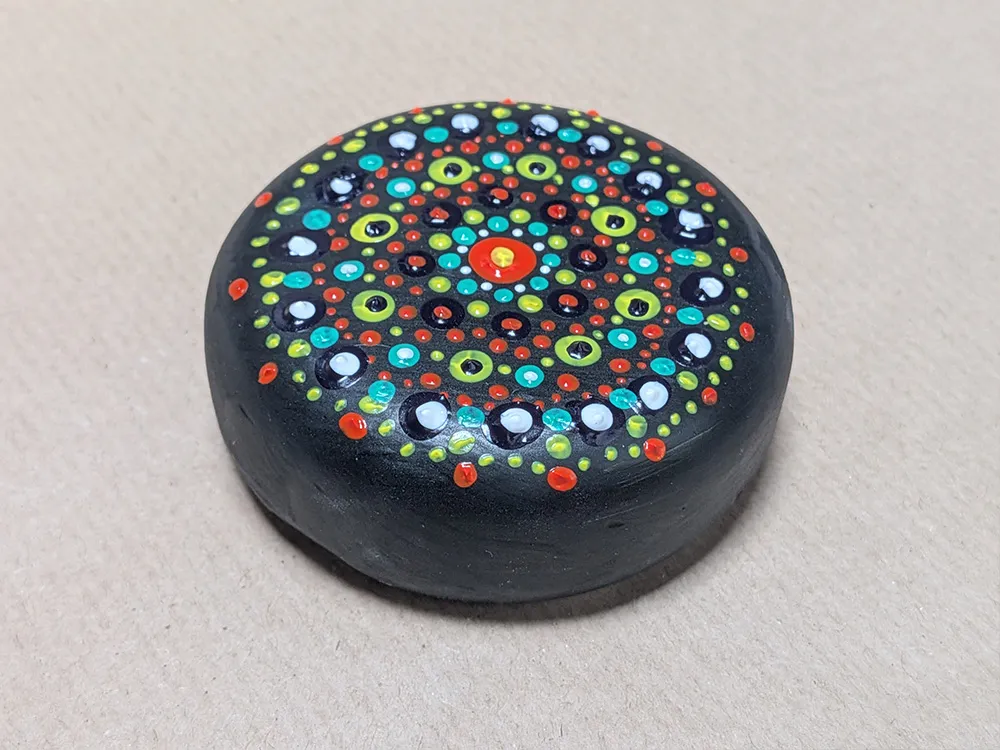
After completing the outer rings, you can add smaller dots on top of dots that were previously placed. This adds a finishing touch and enhances the overall pattern. Make sure to let the design dry first before adding any additional layers or details.
Finishing touch
Once you are satisfied with your dotting design, allow it to dry completely. You can then apply a clear sealant to protect your artwork and give it a glossy finish. Your dotting masterpiece is now ready to be displayed or gifted!