
How to transfer a template
What is template transferring?
Template transferring is the process of securely attaching a template of a dotting pattern or dotting guide to your surface to guide your dotting design. This ensures that your dots are precise and well-aligned, resulting in professional-looking dotting art.
Properly transferred templates provide a stable guide for your dotting patterns, making it easier to create intricate designs such as mandalas, borders and other dotting techniques.
How to transfer a template
Learn how to transfer a template in this step-by-step tutorial.
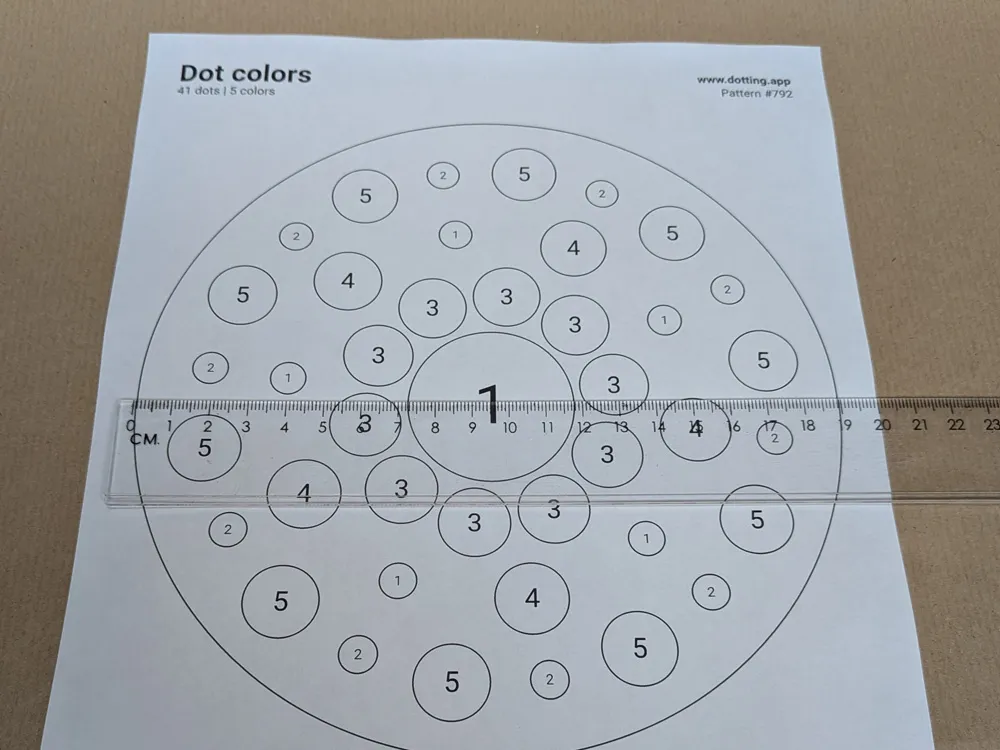
Measure the template
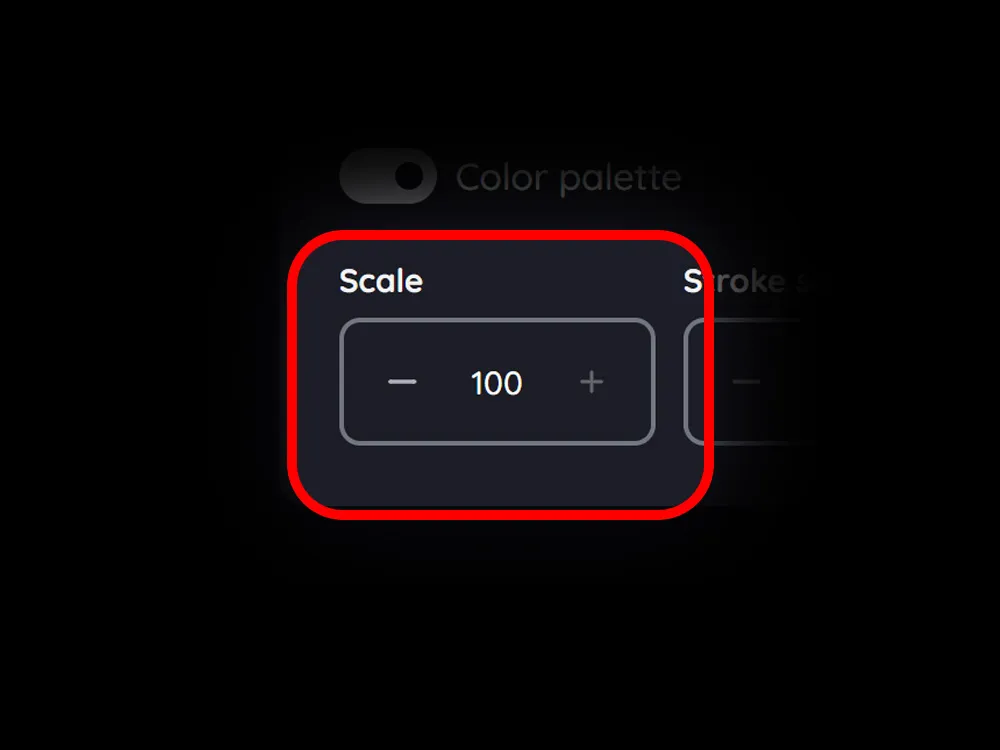
Pick a dotting pattern or create a guide that you want to transfer onto your surface. In the settings, set the scale to 100 and print it out on a standard sheet of paper. From the center, measure the full width of the template. Note it down or enter this value in step 3.
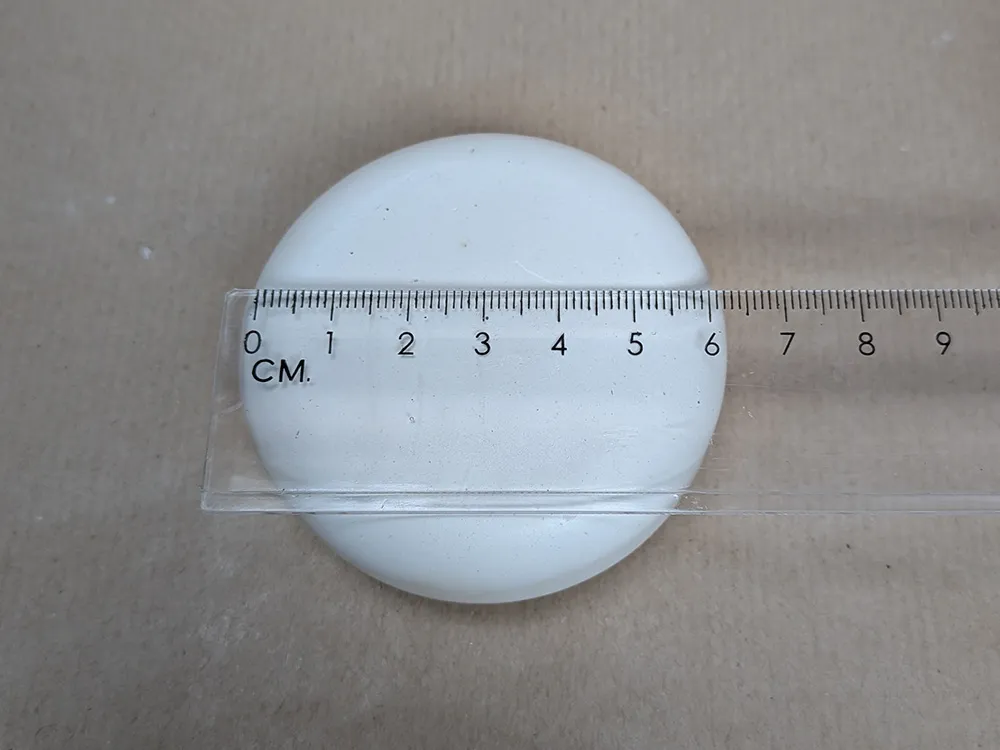
Measure the surface
From the center, measure the full width of your dotting stone or other surface. Note it down or enter this value in step 3.
Calculate the scale
We will now calculate the scale to resize the template to fit your surface. Divide the width of your surface by the width of the template and multiply by 100, rounding it to the nearest whole number.
For your convenience you can enter the values below to automatically calculate the scale.
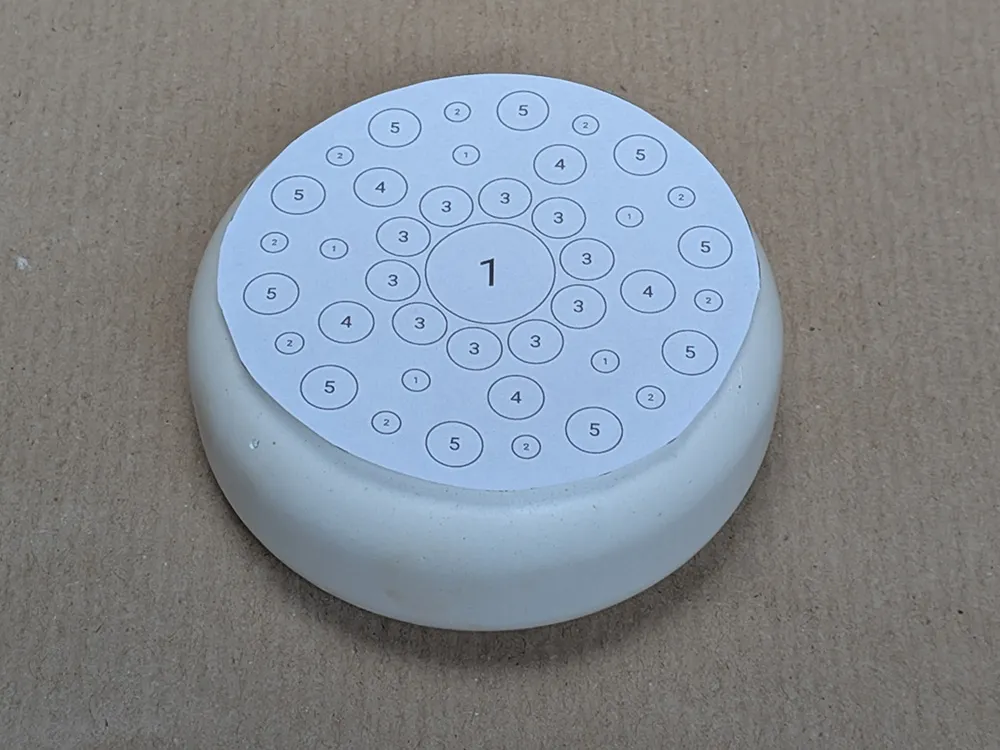
Check the scaled template
In the settings, set the scale to the calculated value and print out the template on a standard sheet of paper. Cut it out and ensure that it fits your surface.
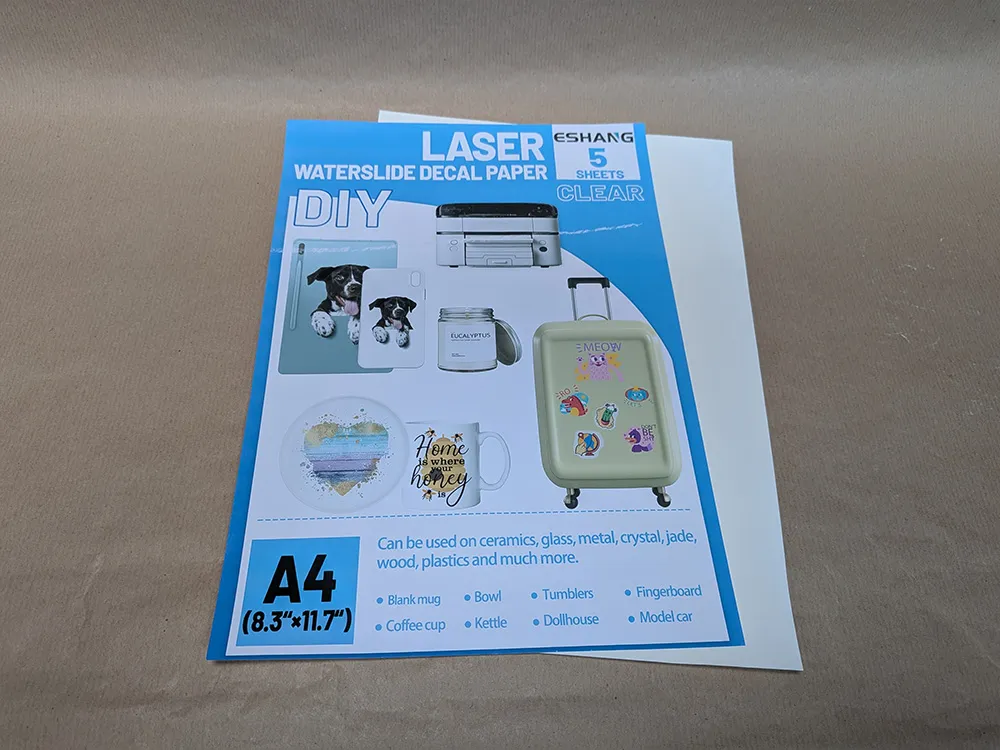
Print the waterslide decal
Using the same scale, print out the template on waterslide decal transfer paper. Make sure to use clear waterslide decal transfer paper that is compatible with your printer type.
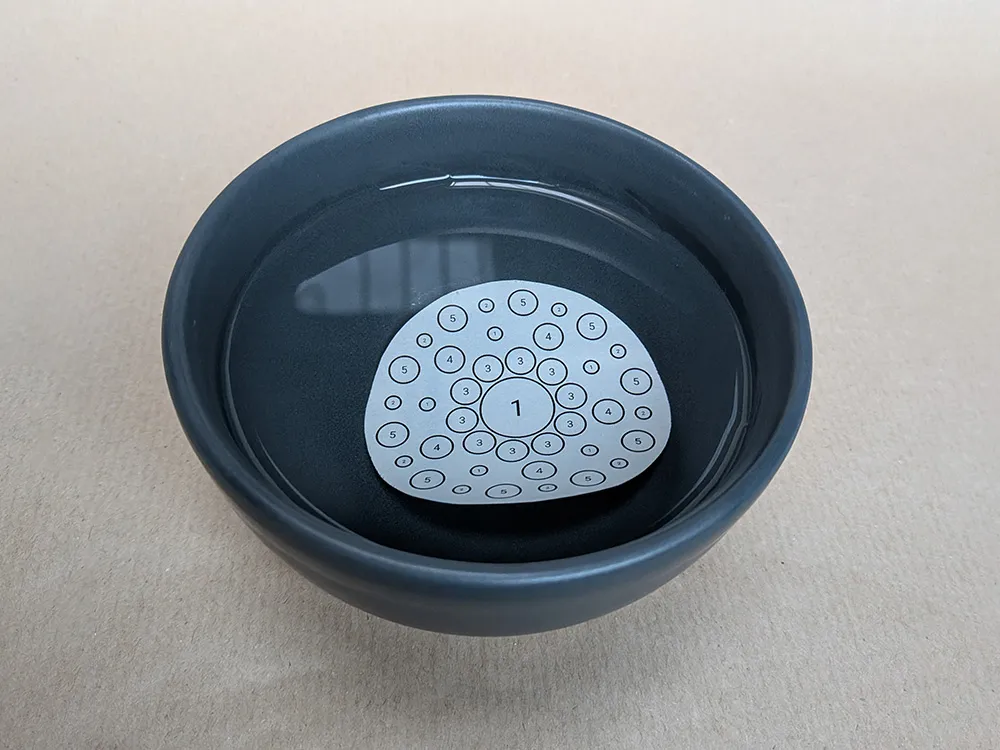
Prepare the waterslide decal
Cut out the printed waterslide decal and soak it in water for 30 to 60 seconds. The paper will curl once it is soaked and will then start to straighten out.
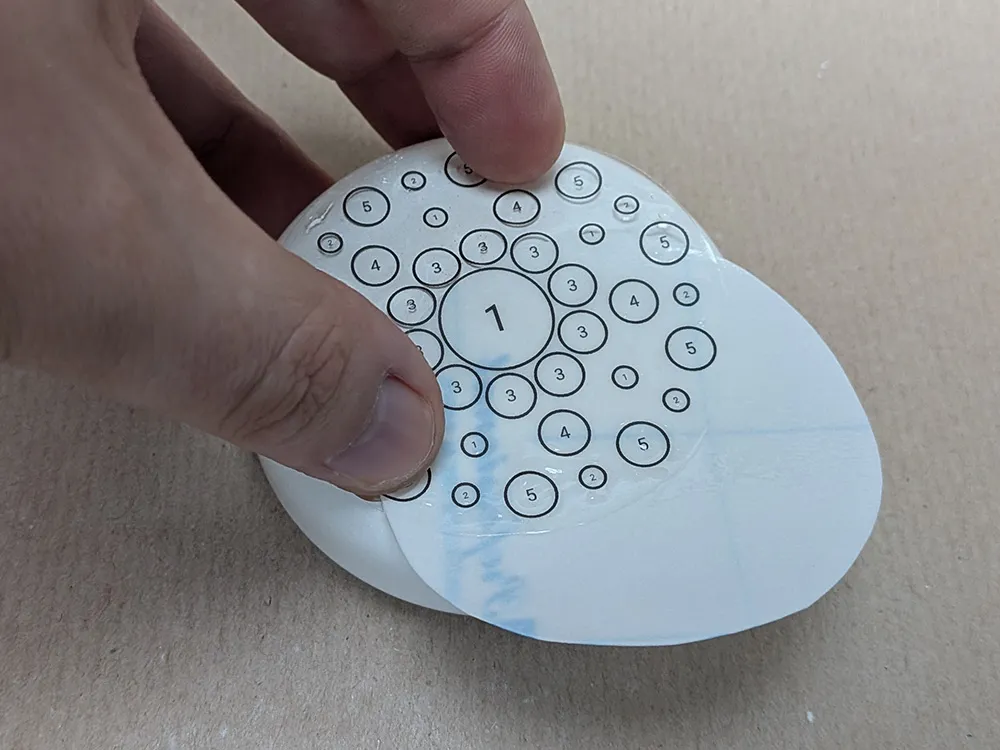
Apply the waterslide decal
Position the soaked waterslide decal onto the prepared surface and gently slide it into place, pulling the backing paper away. Use a soft cloth or sponge to remove any air bubbles and excess water. Allow the decal to dry completely before proceeding.
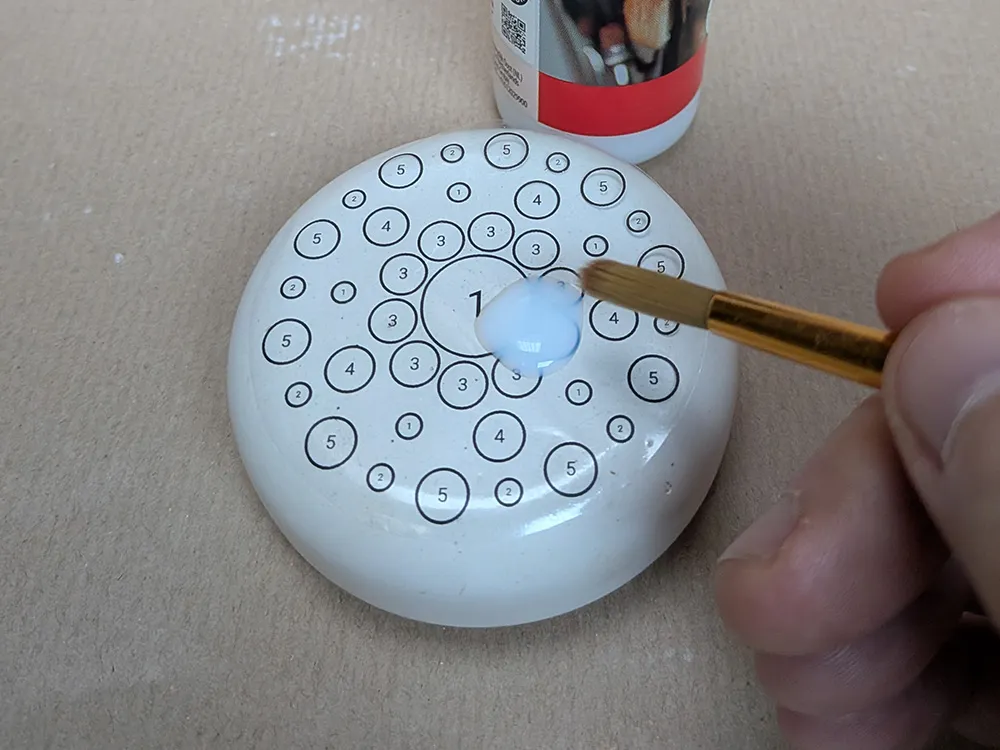
Seal the waterslide decal
Once the waterslide decal is completely dry, apply a clear sealant to protect the design and let it dry completely. This will ensure that the decal remains intact and provides a stable guide for your dotting patterns.
You are now ready to start dotting!
Key takeaways
- Make sure the surface is clean and dry before transferring the template.
- Use waterslide decal transfer paper that is compatible with your printer.
- If the decal does not adhere properly, use a layer of clear acrylic spray or varnish to attach it onto the surface.
- When completely dried, apply a clear sealant to protect the transferred template decal and ensure longevity.